Transferring an embroidery design onto fabric with a blue water-erasable pen
- May 8, 2022
- 3 min read
Updated: May 9, 2022
There are loads of different transfer tools available to us as stitchers, including white water-erasable transfer pens you might use on darker colors of fabrics, washable transfer paper you might use for more intricate designs, and even simple pencils (which you can see me demonstrate in my post about the window method for transferring hand embroidery designs to fabric). There is no "perfect" tool or method for transferring an embroidery pattern or design to fabric; rather, stitchers develop situational preferences with experience and time.
In today's post, I'll be focusing on one of my very favorite tools for transferring hand embroidery designs to fabric: blue water-erasable fabric pens. This short post includes information on where to find blue water-erasable transfer pens, how to use them, and how to remove their marks once you've finished stitching. I hope it's helpful!
Where to find blue water-erasable transfer pens for hand embroidery
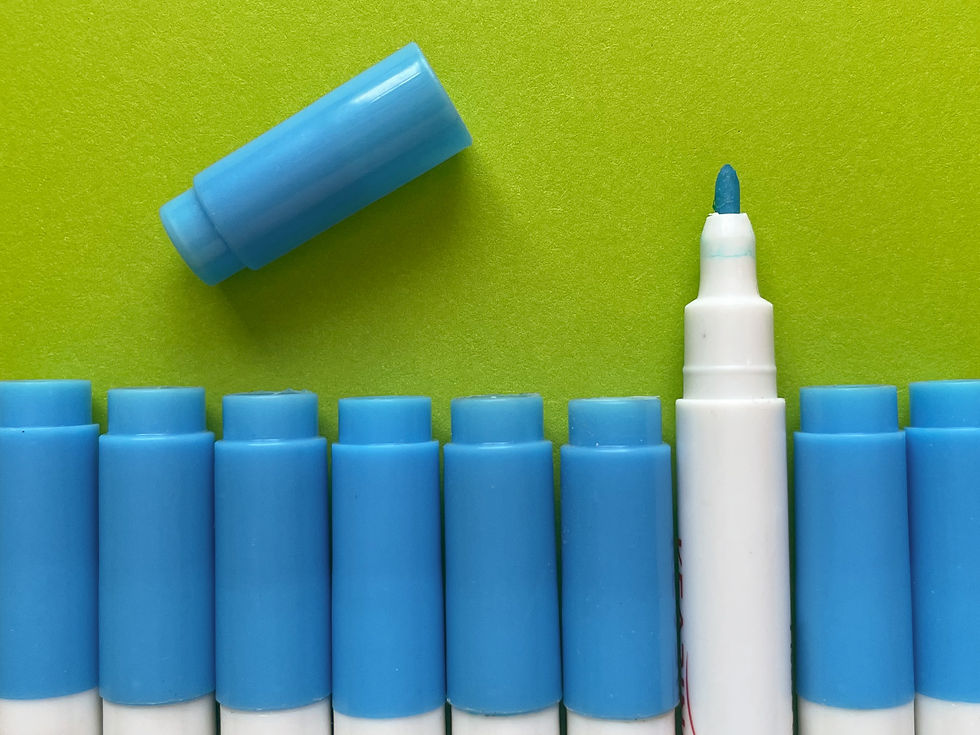
You'll find blue water-erasable transfer pens, developed specifically for use on fabric, online and in most craft stores. If you're in a physical craft store, you'll typically find them near the embroidery supplies (though you may also find them in the sewing notions and/or quilting sections).
Several of my kits include these blue pens, which I typically get from Kearing, but you'll find very similar pens from other companies and brands as well (including Dritz and Clover). I haven't found a huge difference between brands in terms of their pens' quality, ease of use, or ease of removal; that's why I suggest going with whichever brand you have easiest access to given your specific situation.
How to use blue water-erasable transfer pens
Test your fabric
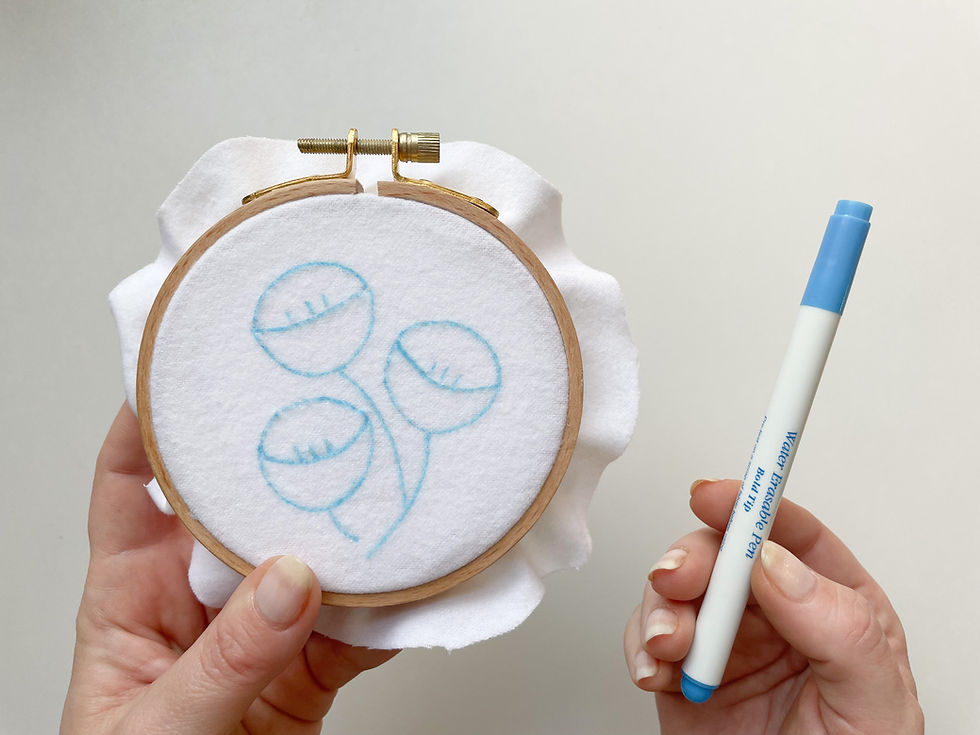
Before committing to this transfer tool, test your pen on a scrap piece of the fabric you'll be using for your project -- you'll want to be sure that it can be easily removed once you've finished stitching. This also gives you a chance to be sure that you can see the marks that you draw. In the photo below, I'm using a blue pen to trace my three pink tulips design using the window method onto a white flannel fabric, but other fabrics may be a bit too dark for your marks to show. If your fabric is too dark for a blue pen, you might consider using a white water-erasable pen or washable transfer paper instead.

Draw your design directly onto your fabric
Once you've tested your fabric to be sure that the marks can be removed and are visible enough for you to see and stitch, simply draw your design directly onto your fabric!
Stitch on top of of your marks
Now that your design is transferred, simply stitch over your marks by following the provided guide (if you're working from a pattern) or your own personal preferences and intuition (if you're working on an original piece).
How to remove blue transfer marks
These are water-erasable pens, which means you can remove their marks using plain water. When removing marks from my projects, I typically keep my fabric inside of my hoop -- this works just fine so long as you don't leave your hoop submerged in water so long that the hardware rusts or the hoop itself warps. For more stubborn marks, I might let my project soak in a bowl of water for about 15 minutes, but be sure to set yourself a timer if you do this so you don't accidentally let it sit for too long!
Once you've removed your marks with water, use a towel to gently soak up any excess water and place your project in an area where it'll have a chance to be exposed to air. On sunny days, I'll sometimes leave my hoop outside to dry in the sun; on not-so-sunny days, or days where I'm feeling a bit impatient, I'll hang my hoop directly in front of a fan (that sure does speed up the drying process!).
Thank you for being here, and I can't wait to see what you make!
I hope this was useful, and I can't wait to see what you make - whether you create something from one of my kits or patterns, or from a design of your very own! If you'd like to share your work with me, you can always tag me on your social media accounts (@hopebroidery on Instagram and Twitter, @hope.broidery on TikTok). If you don't have public social accounts, but still want to share, consider emailing me a few pictures (hope@hopebroidery.com), I would love the chance to tell you how much I love your work!
Happy stitching!


Comments