How to stitch a French knot burst hoop
- Aug 16, 2021
- 3 min read
I started stitching French knot burst hoops years ago as a fun excuse to practice French knots and play around with different color combinations. In today's post, I'll teach you how to make one yourself!

This tutorial includes photo and written instructions; if a video tutorial is easier for you to follow, you can find one at the end of this post (feel free to jump ahead!).
Before getting started with this project, you may want to review my post on how to stitch a French knot, and/or my post about creating French knot cluster flowers (which will help you create the French knots in the center of our bust hoop).
Step 1: Choose your colors!
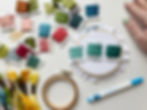
If you're following along with this tutorial, you'll want to choose a total of three colors for this project. You can choose any three colors you like; I chose to go with three shades of blue in DMC 993 (my lightest color), 992 (medium), and 991 (darkest).
Step 2: Draw a series of circles as guidelines.
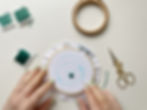
I'm going to frame my final project in a three inch hoop, but I'll be stitching in a four inch hoop. First, I'll trace the inside of my three inch hoop onto my fabric. This way, I know the final design will fit inside my smaller hoop. If you're stitching in the hoop that will serve as your final frame, you can skip this portion of the guideline-drawing process.

For this demonstration, I'm using a blue water-erasable fabric pen to mark my guidelines. Feel free to use whatever transfer method works best for your particular fabric, so long as the marks can be removed once you're finished stitching.

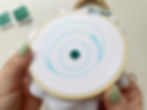
Because I'm using three colors for this project, I need to draw three circles radiating out from one point on the hoop. You can use coins or other circular objects as stencils, or an actual circular stencil (which you can find in most craft stores).
You can draw this first circle directly in the middle of your hoop, or make it a bit off-centered like what I've done here.


These circles don't have to be perfect, as we're just using them as rough guidelines for where to place our different colors of French knots.

Step 3: Filling in your first circle.
I start by filling in my first circle with French knots using my darkest shade of blue. This first circle should be completely filled in with French knots.
Step 4: Filling in your second circle.
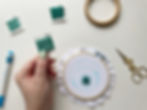
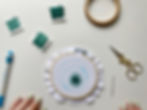
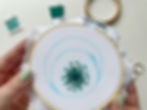
Your second circle will have French knots that are just a bit spaced out (versus your first, which has tightly packed French knots).
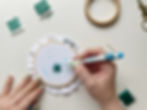
After marking myself a few guidelines to help make sure that my French knots were pretty evenly spaced, I used my first color (the darkest shade) to stitch.


Next, I drew myself additional guidelines before moving on to my second color (the medium shade of blue).
Step 5: Filling in your third circle.
Your third circle will have French knots spaced out a bit more than the French knots in your second circle. Again, I've drawn myself guidelines before I start stitching, and I'll fill these in with my second color (medium blue).
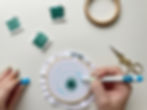


Now I'm ready to move onto my third color (and lightest shade of blue).


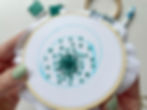
Step 6: Filling in your leftover space.
Using your third and final color (in this example, my lightest shade of blue), you'll stitch a few final French knots in your leftover space at the edges of your project. These should be even more spaced out than the French knots you stitched in the previous step.
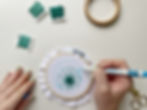
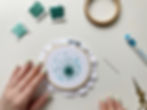

Step 7: Remove your marks and frame your project!
Once you've removed your transfer marks and, if applicable, allowed your hoop to full dry, you're ready to frame your final project!

Pushing my fabric down over the inner hoop allows me to be sure that I'm centering my project just right when re-framing it into a new hoop.


If you're re-framing your project into a new hoop, make sure to trim any excess fabric before backing.

I backed my hoop using cardboard; you can read how and why I do this in a previous post.

Video tutorial for creating French knot burst hoops
I hope this was helpful! If You're a new stitcher and like to learn with kits, make sure to take a look at what I have available in my shop! I also sell embroidery scissors, digital patterns, stickers, and pins!


