Thorn stitch
- Hope

- May 5, 2021
- 3 min read
Thorn stitch is basically a fancy version of the classic "couching" technique in embroidery, and can be used to stitch a straight line or a curve. You can use thorn stitch to stitch decorative borders, vines, other plants; this would be a great stitch for wreaths, too!
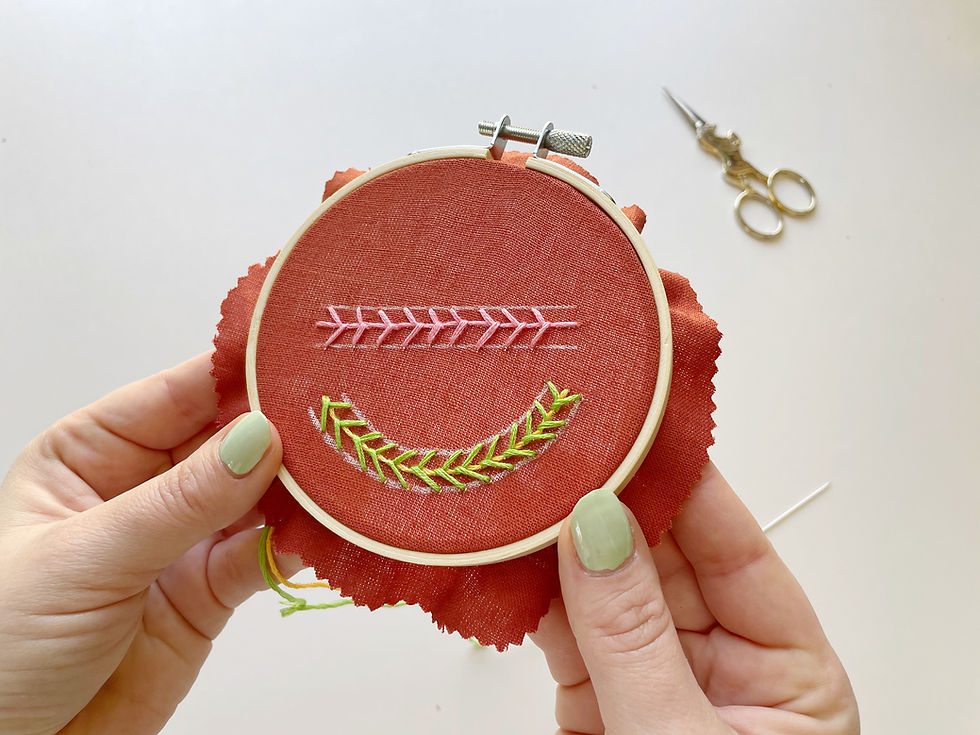
In this post, I'll show you how to stitch thorn stitch in a straight line, as well as in a curved shape - the techniques are slightly different, but involve the same basic steps. If a video is more helpful to your learning process, feel free to scroll all the way to the bottom of this page, where I've provided you with a quick, beginner-friendly video tutorial for both straight and curved thorn stitch.
Straight thorn stitch
Step 1: Draw your guidelines.
I drew three parallel lines for each line of stitching using a white, water-erasable transfer pen. For both straight and curved thorn stitch, you'll use these three lines to help guide you in placing the "base" of your stitch, as well as in placing the "leaves" that couch your base floss to your fabric.

Step 2: Following your middle line as a guide, make one long straight stitch.

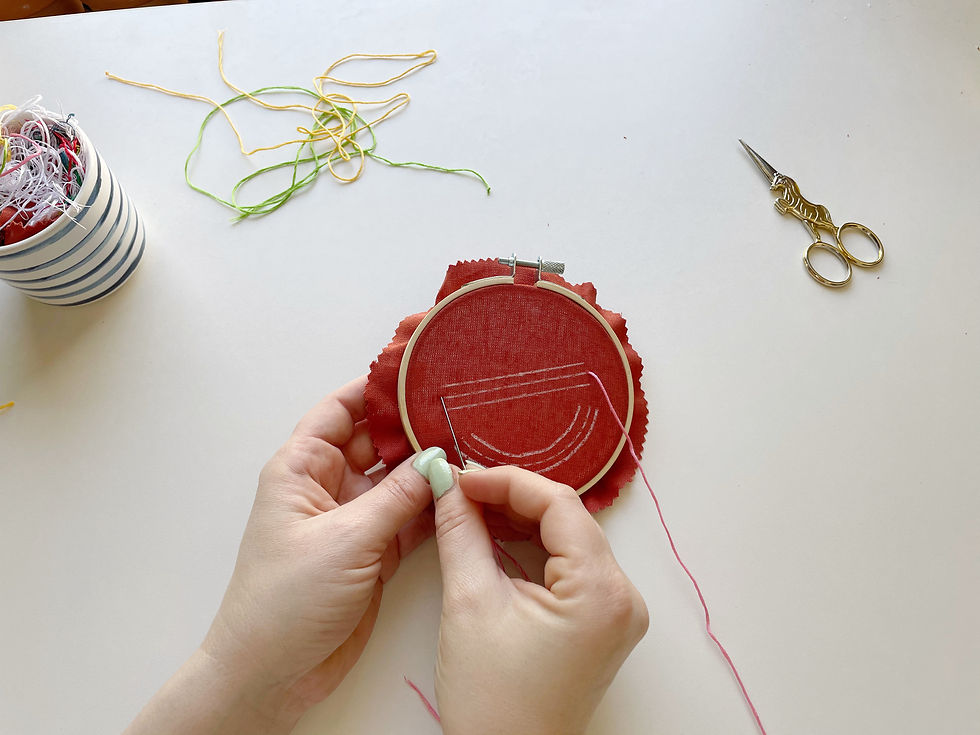
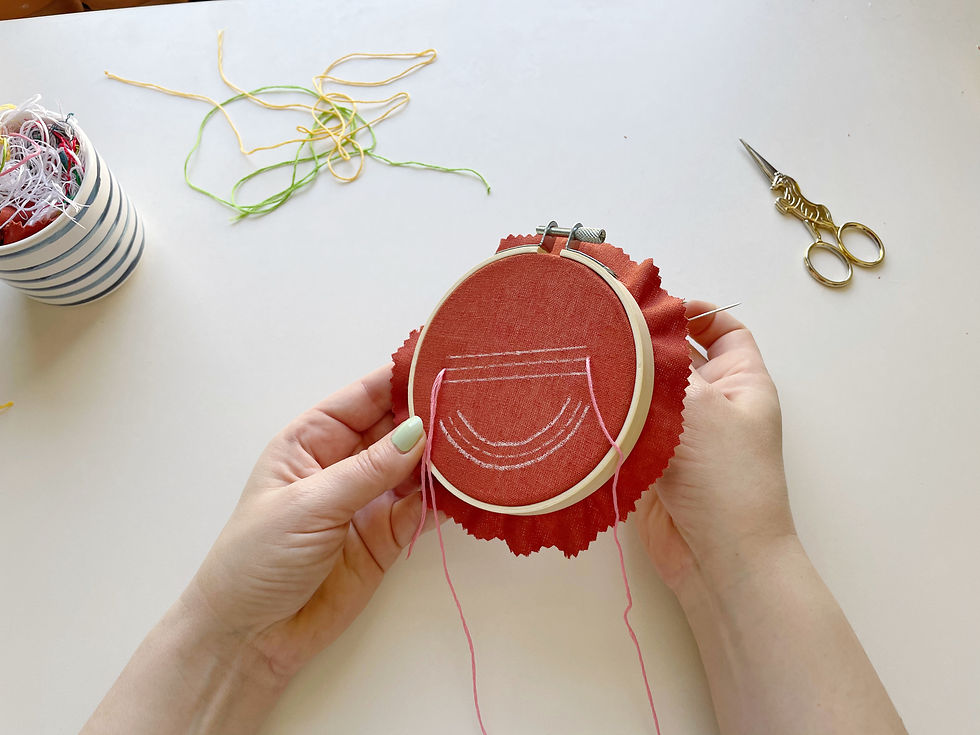
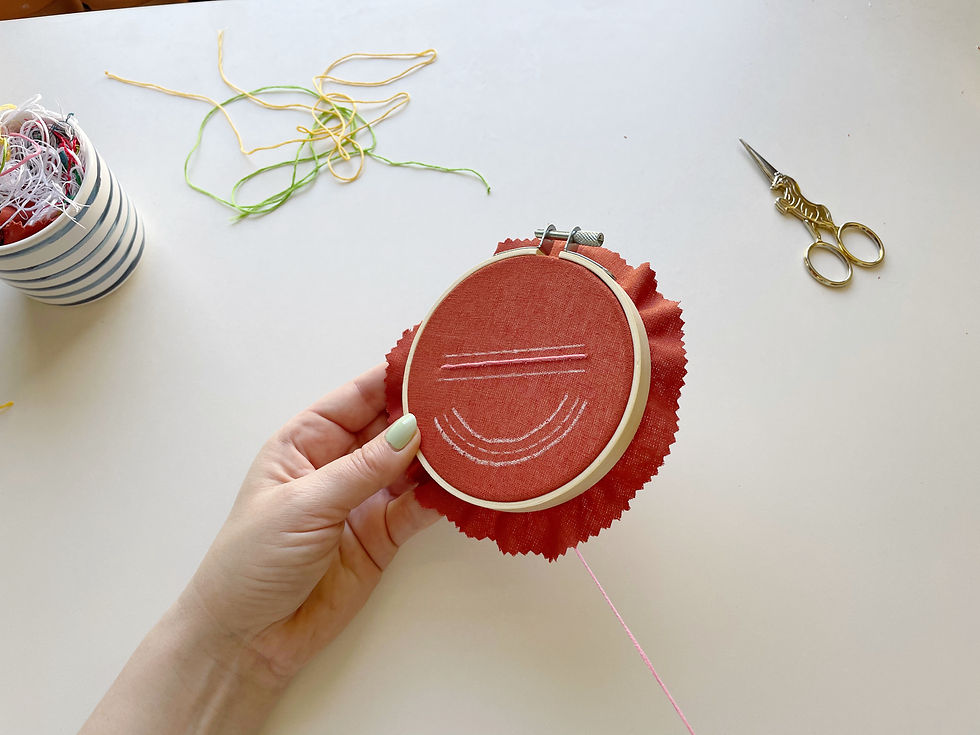
Step 3: Bring your needle up through your fabric and create a diagonal straight stitch over your initial straight stitch.
By placing this stitch over your initial straight stitch, you'll be "couching" your base to your fabric.
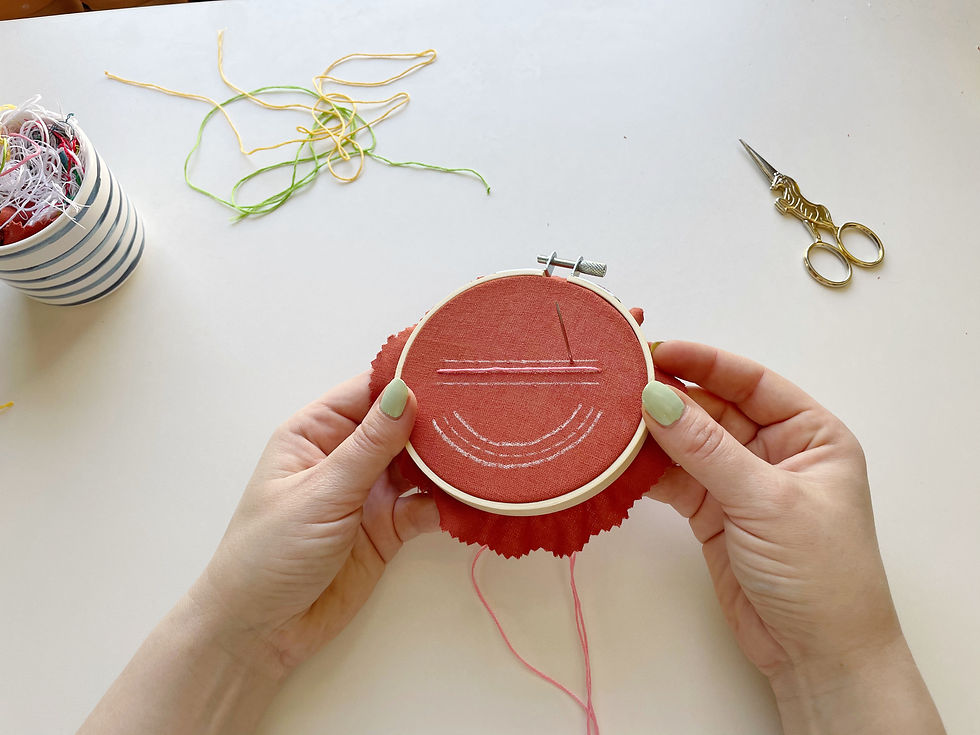
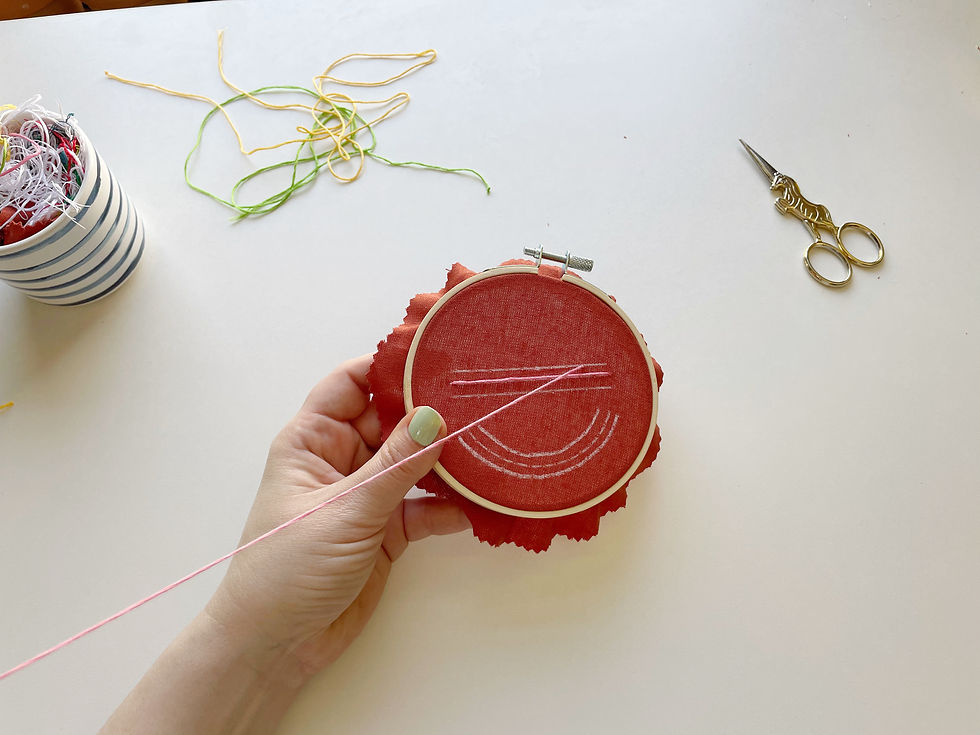

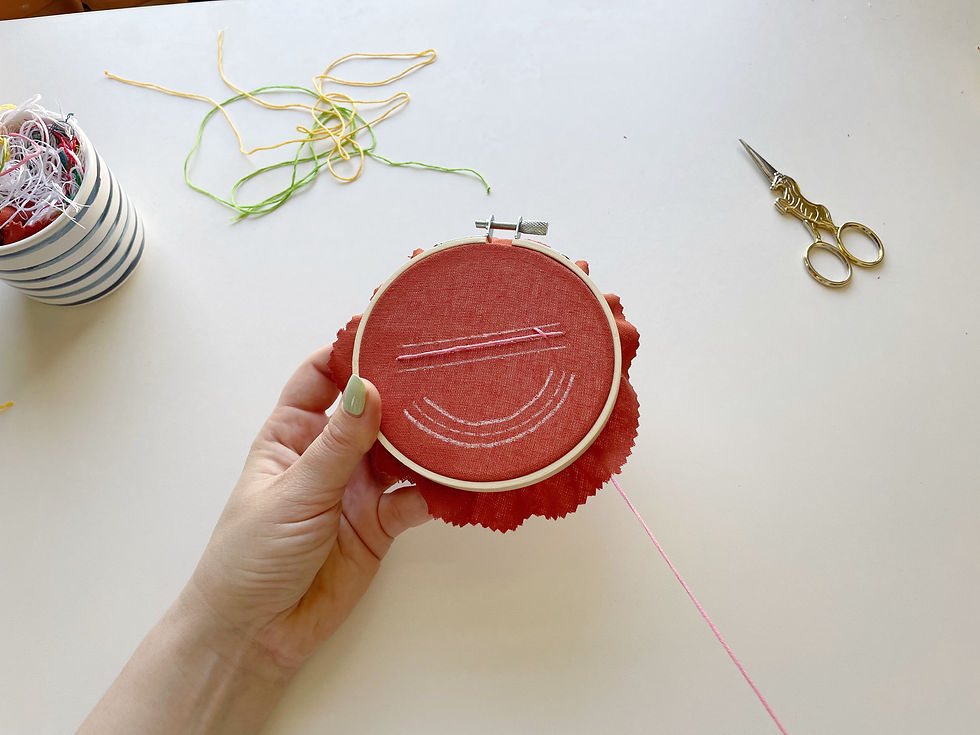
Step 4: Repeat the previous step, overlapping both your initial straight stitch, as well as the short diagonal straight stitch you made in the previous step.


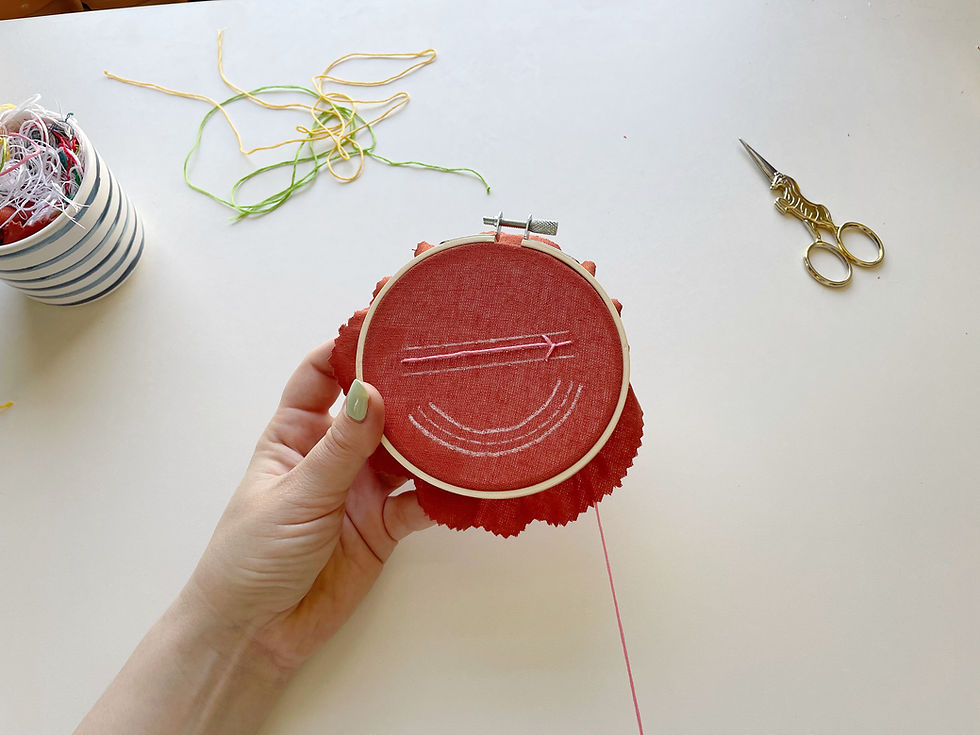
Step 5: Continue creating short, diagonal, overlapping straight stitches all the way down your line of stitching.
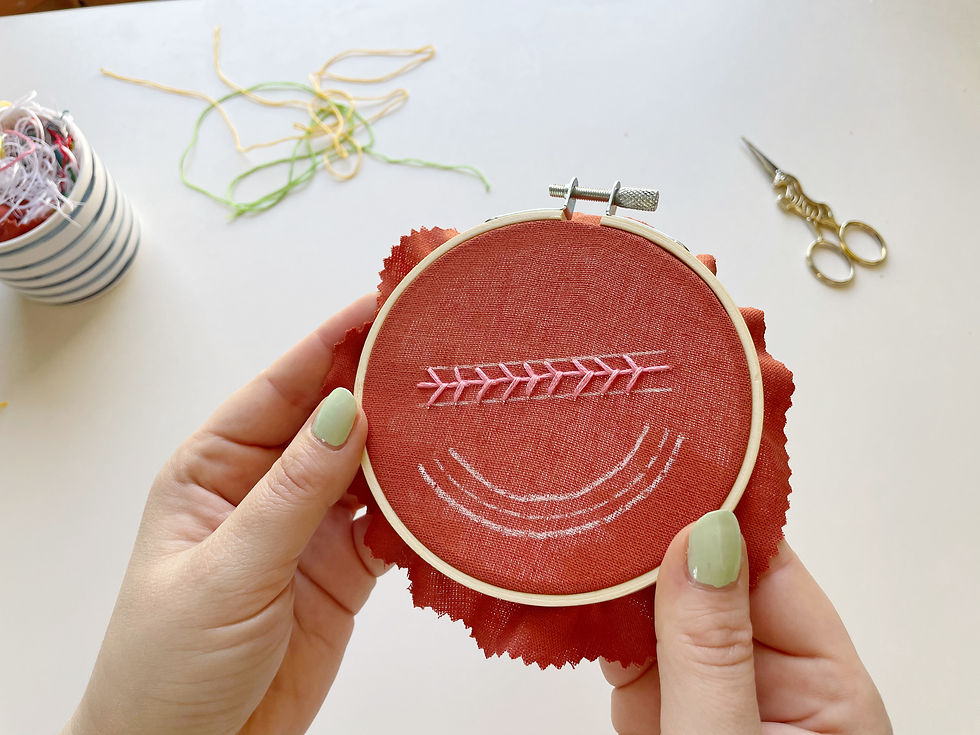
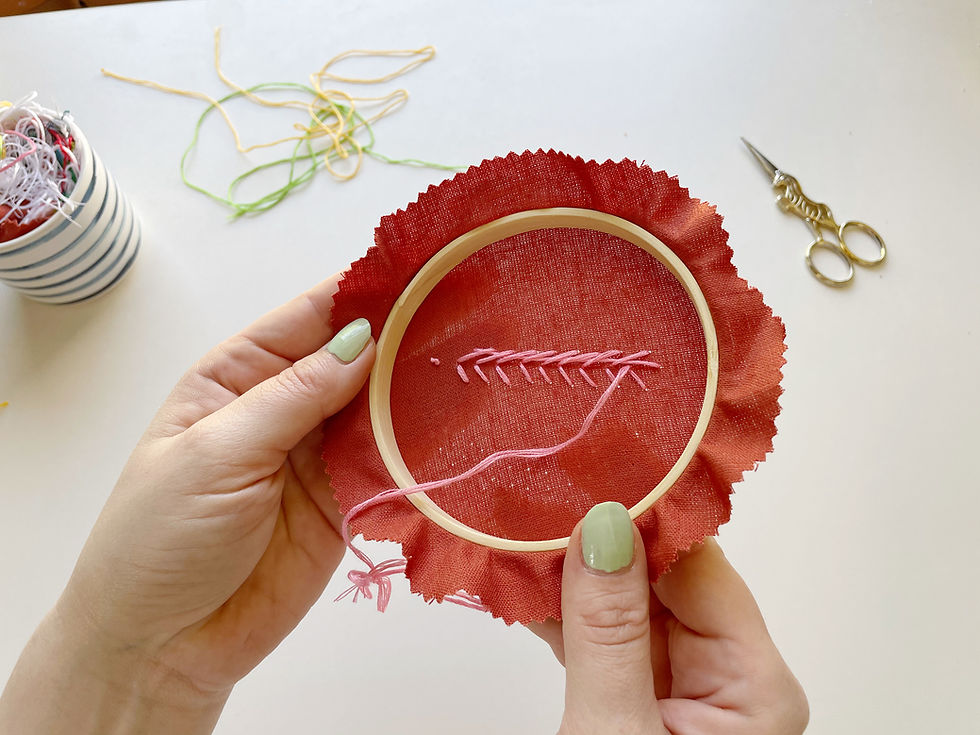
Here's what a finished line of straight thorn stitch will look like, from the front and back:
Curved thorn stitch
Step 1: Draw your guidelines and prepare your floss.
For curved thorn stitch, you'll need two lengths of floss (unlike straight thorn stitch, where you can use just one length of floss). To help demonstrate this stitch, I chose to use two different colors of floss so you can more easily follow what I'm doing. I'll be using the yellow floss to stitch my base, and the green floss to stitch the leaves.

Step 2: Bring your base floss through the top of your center guideline.
For curved thorn stitch, you won't be securing this base to your fabric until you're done "couching" it down with the leaves.


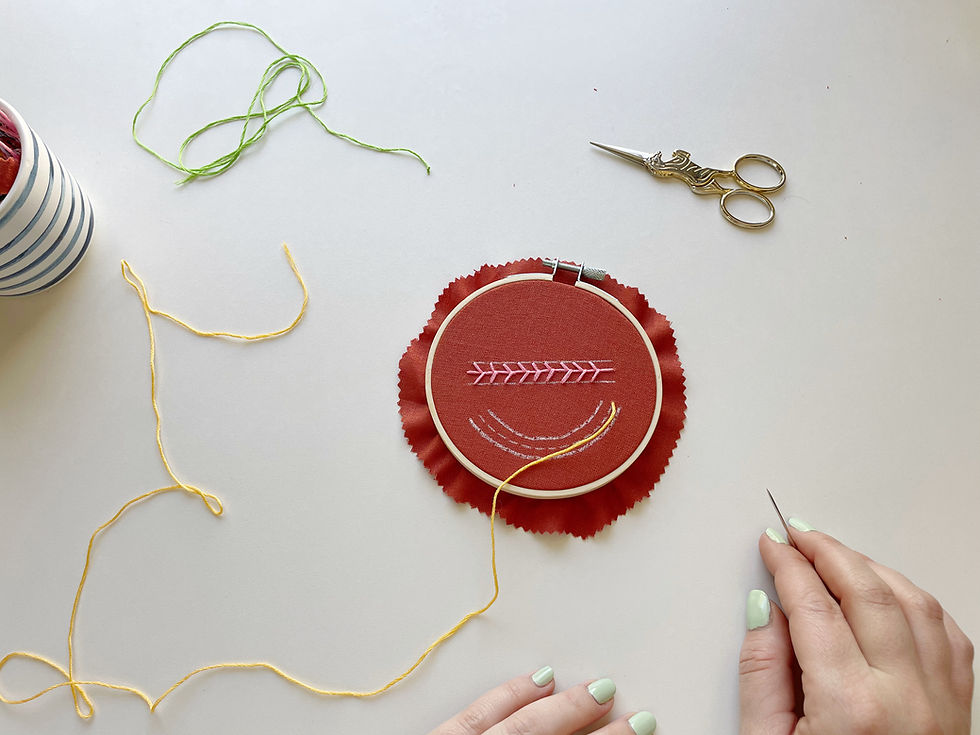
Step 3: Bring your needle up through your fabric and create a diagonal straight stitch over the floss for your base.
This is very similar to straight thorn stitch; the difference here is that you didn't secure your base stitch just yet.


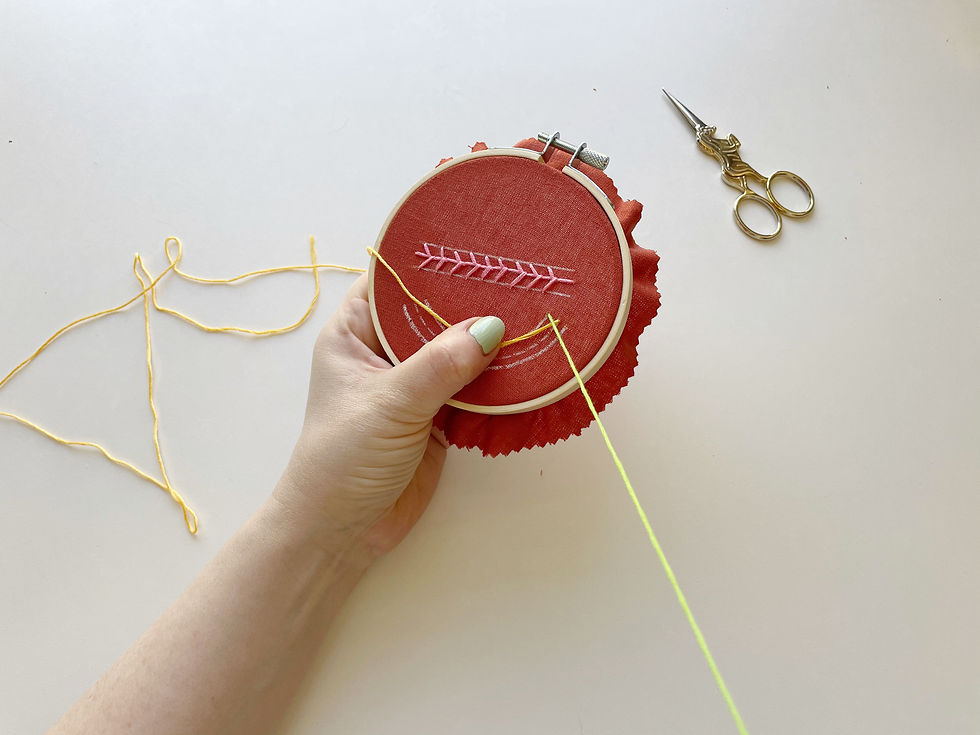


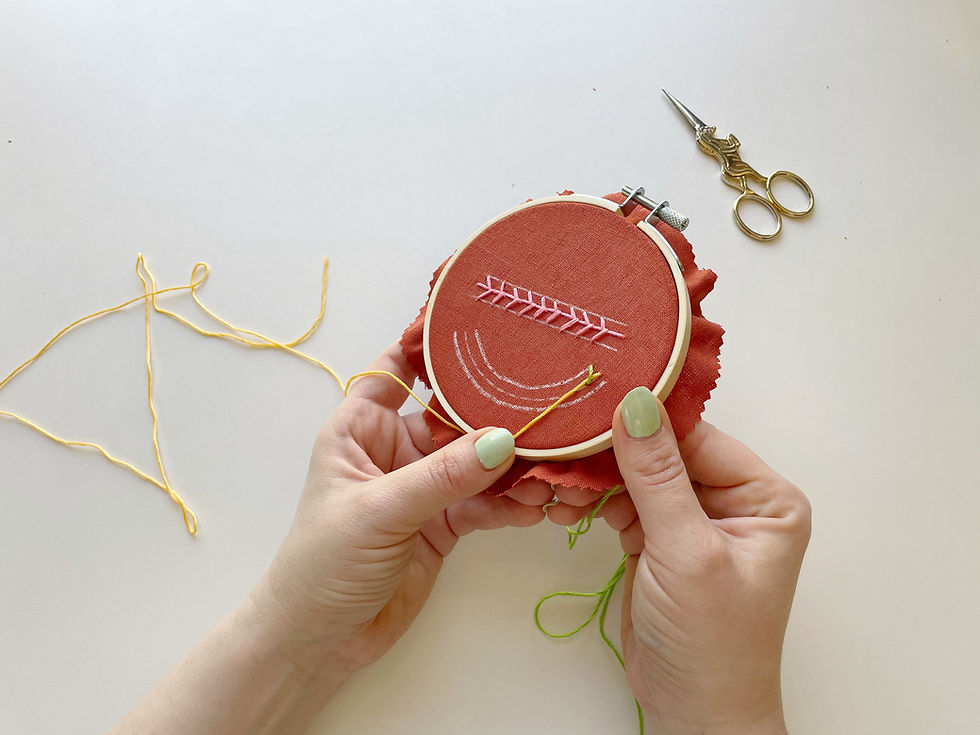
Step 4: Repeat the previous step, overlapping both your base's floss, as well as the short diagonal straight stitch you made in the previous step.

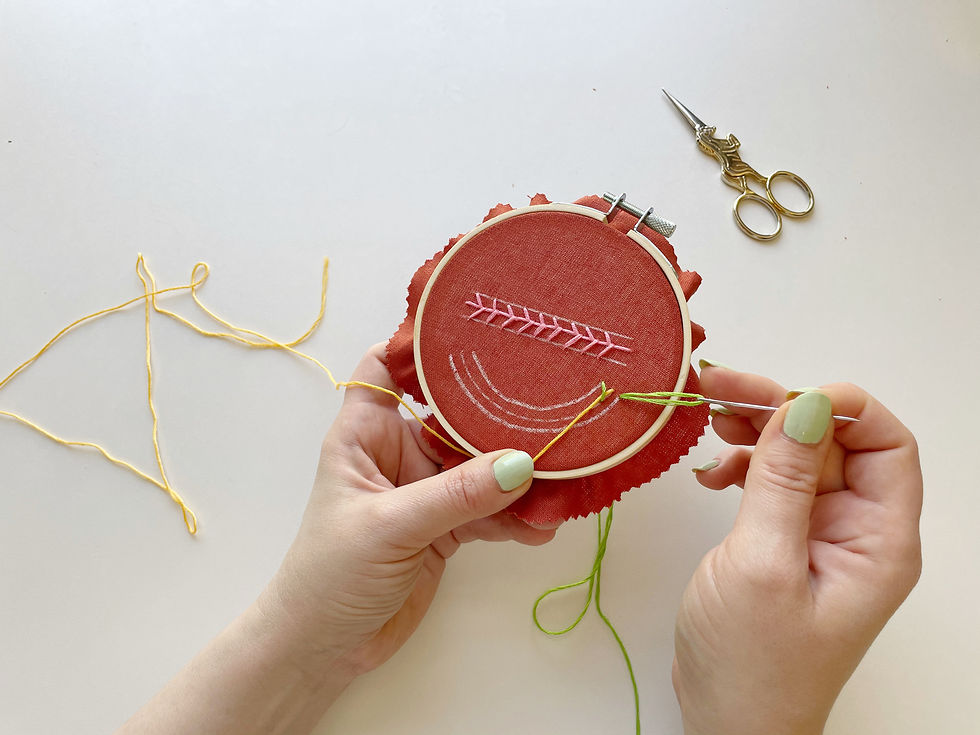

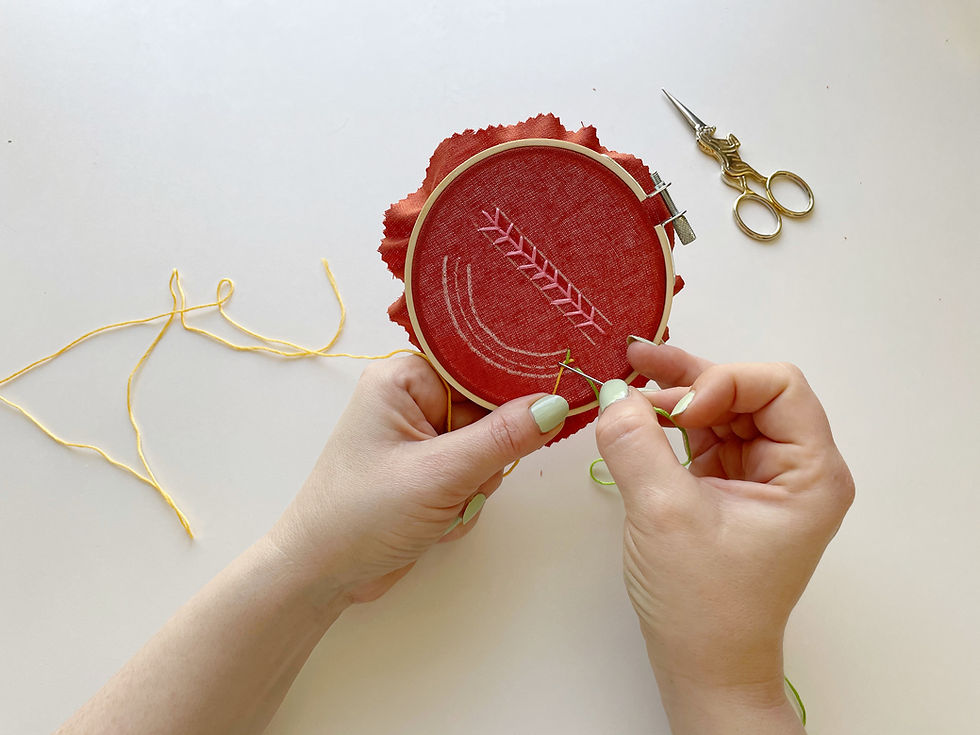

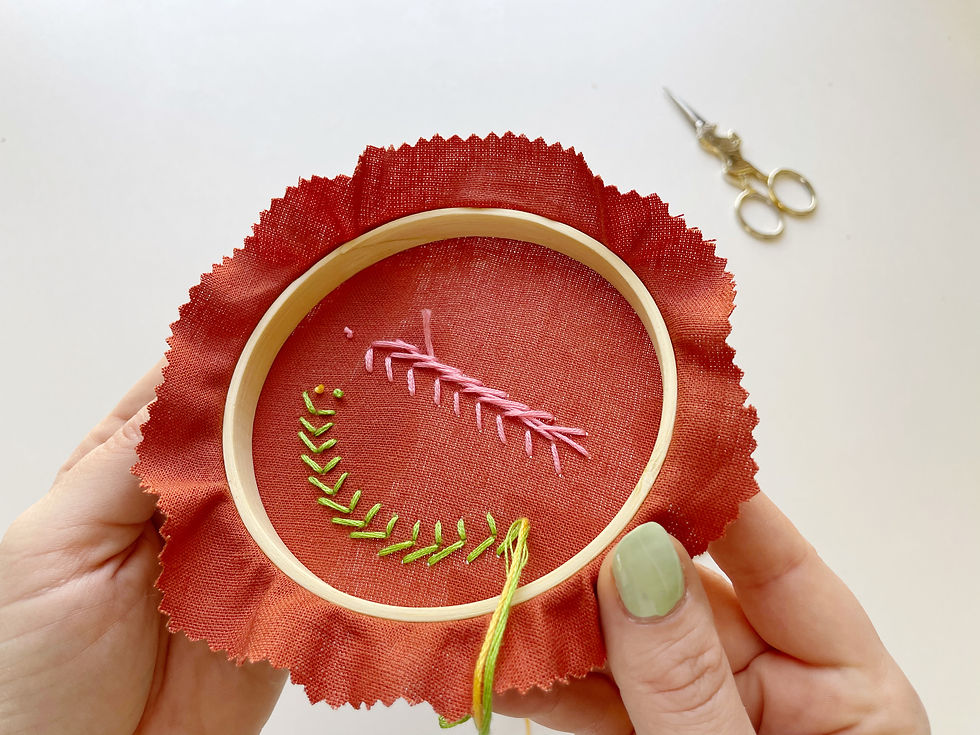
Step 5: Continue creating short, diagonal, overlapping straight stitches all the way down your line of stitching.
For curved thorn stitch, you'll be readjusting your base stitch as you go (vs. straight thorn stitch, which doesn't require any adjusting).
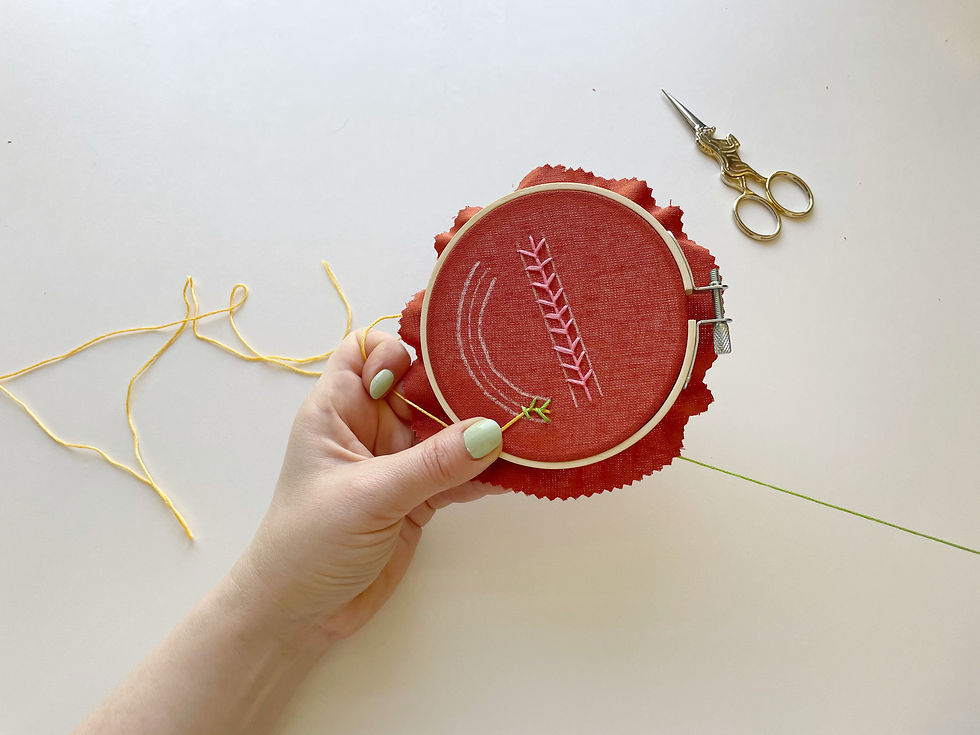

Here's what your line of stitching will look like once you're close to finishing:
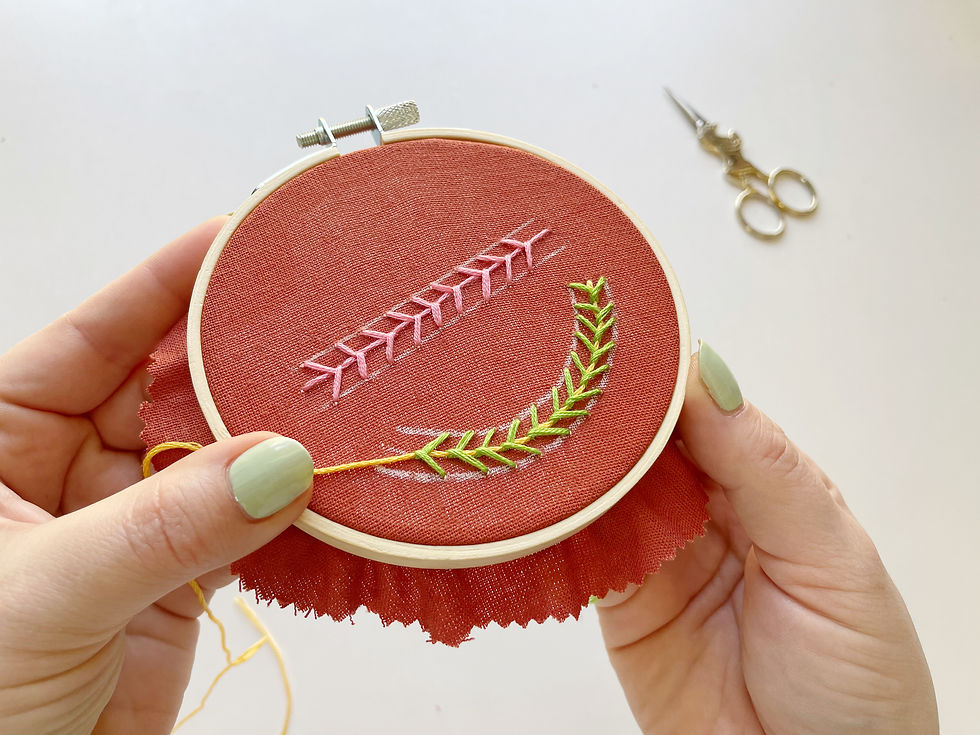
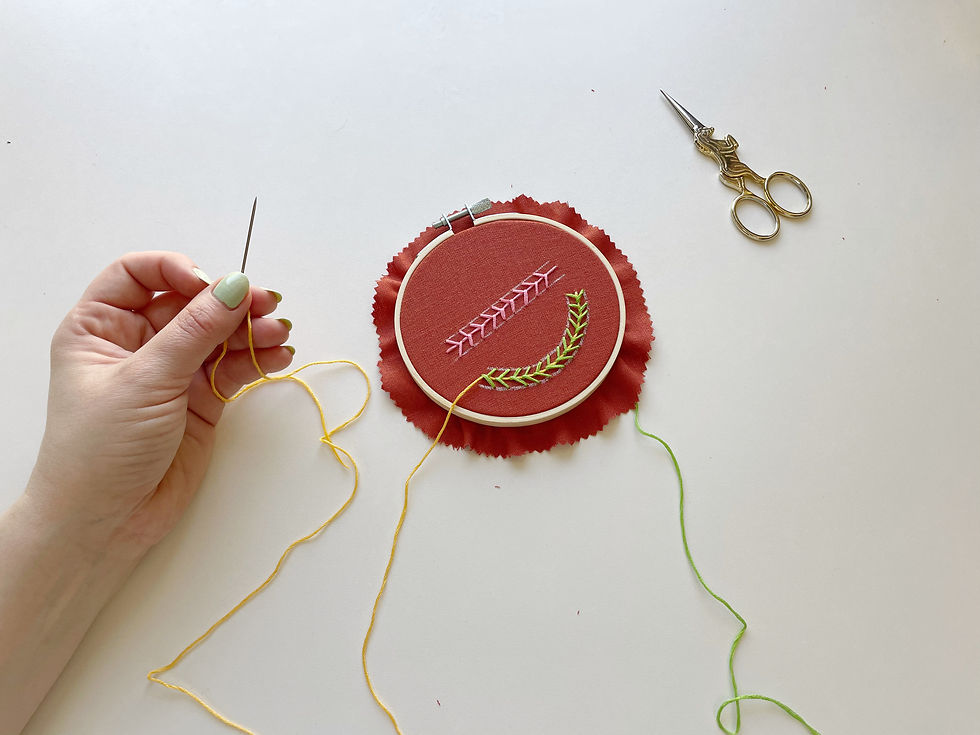
Step 6: Secure your base to your fabric.
Once you've finished all of your leaves, you're ready to secure your base floss to your fabric. Here, you can see I've re-threaded my needle and I'll simply bring the end of the base floss through the fabric to secure it in place.

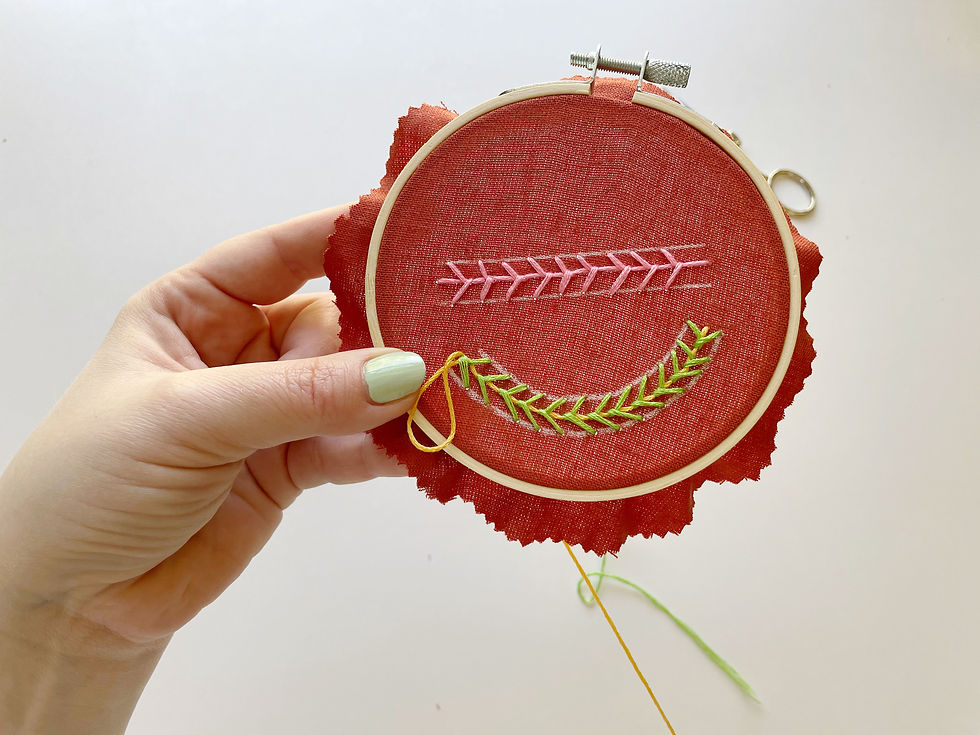
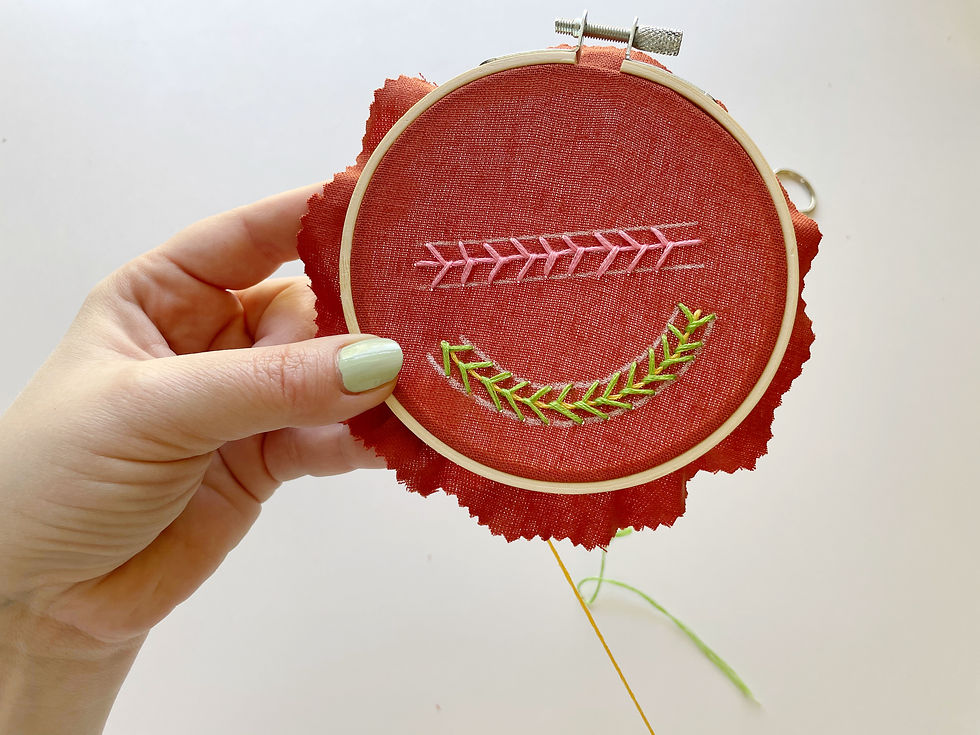
All done! Here's what your finished line of stitching will look like:

And here's what the back of my stitching looks like:
Once you're done, you can remove your guidelines and enjoy your finished work!
Video tutorial for straight and curved thorn stitch
This stitch looks a lot harder than it actually is! If video tutorials are more helpful for you, try watching this brief, beginner-friendly tutorial!


Comments